安装流程
第一步安装: npx create-nuxt-app <项目名>,
确保安装了npx(npx在NPM版本5.2.0默认安装了):
然后一路回车,安装完成之后执行 npm run dev
我们主要记录部署的流程
首先, 我们先把本地项目编译一次, 执行 npm run build, 打包之后的文件在 .nuxt 目录里(注意: 如果是在mac下, .文件默认是隐藏的)
编译之后选择 文件夹打包,上传到服务器,文件夹及文件依次是:
|
1 2 3 4 |
nuxt.config.js package.json server static |
打包成为 nuxt.tar.gz文件, 然后通过ftp等工具上传到liunx服务器,
在服务器执行: tar -zxvf nuxt.tar.gz 解压
解压完成之后, 安装依赖, npm install
安装完成之后, 我们启动项目, 执行 npm run start,
接下来我们先配置一下nginx, 使用反向代理来实现直接使用域名访问
我们新建一个nginx配置文件
|
1 2 3 4 5 6 7 8 9 10 11 12 13 14 |
upstream nuxtserver1 { server 0.0.0.0:3000; // 这里是代理的地址, 默认vue启动的是127.0.0.1:3000 } server { // 我们需要监听80端口, 不然需要在域名后面带上端口号才能访问, 默认的80端口不需要写端口号, listen 80; server_name nuxt.he29.com; //我们的域名,. 需要先把域名解析到本机器, location / { proxy_pass http://nuxtserver1; 这里是我们的反向代理 index index.html index.htm; } access_log /www/wwwlogs/nuxt.he29.com.log; //记录log } |
然后在nginx 主配置文件里引入, 重启nginx, 注意不能关闭之前启动的 npm run start
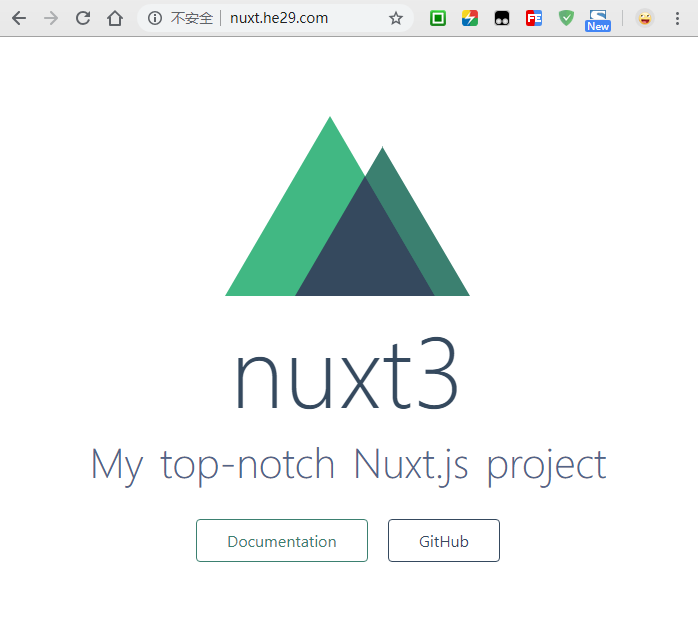
然后使用 nuxt.he29.com 应该就可以访问到了
但是, 做完这些, 我们还需要使用 pm2 来让我们的项目在后台一直运行, 不然我们关闭了终端, 我们的服务停了也就无法访问了
首先我们全局安装pm2, 安装完成之后使用pm2, 编写配置文件,
|
1 2 3 4 5 6 7 8 9 10 11 12 13 14 15 16 |
{ "apps": { "name": "myidea", "script": "npm run start", "watch": [ ".nuxt" ], "ignore_watch": [ "node_modules" ], "watch_options": { "persistent" : true, "ignoreInitial" : true } } } |
然后 启动我们的项目
|
1 2 3 4 5 6 7 8 9 10 |
[PM2] Applying action restartProcessId on app [npm](ids: 0) [PM2] [npm](0) ✓ [PM2] Process successfully started ┌──────────┬────┬──────┬───────┬────────┬─────────┬────────┬─────┬──────────┬──────┬──────────┐ │ App name │ id │ mode │ pid │ status │ restart │ uptime │ cpu │ mem │ user │ watching │ ├──────────┼────┼──────┼───────┼────────┼─────────┼────────┼─────┼──────────┼──────┼──────────┤ │ npm │ 0 │ fork │ 27326 │ online │ 16 │ 0s │ 49% │ 9.9 MB │ root │ disabled │ └──────────┴────┴──────┴───────┴────────┴─────────┴────────┴─────┴──────────┴──────┴──────────┘ Use `pm2 show <id|name>` to get more details about an app [root@instance_439b09 server]# |
这样, 我们的项目也就全部启动起来了
 雅荷心语博客
